
It's good to be back - I've missed my blog these past few weeks but the time off was necessary. A mix of heavy work commitments and a week away with the O.H. meant that I made a conscious decision to take a blogging break and spend some time being selfish and just focusing on myself.
But even though I was taking time 'off' it didn't have any effect on my interest in finding new ways to update my clothes and accessories from a DIY perspective.
Introducing my latest project: studded Converse.
In my last post (many moons ago!) I referenced a pair of personalised, studded Converse that retailed at a chunk over £200. That, to me, is silly money for some studs being added to a pair of £45 shoes - not to mention completely financially unjustifiable!
 |
| The 'real deal' in action |
Just under two weeks ago I was readying myself for a lazy week away worshipping the sun in Egypt. I'd booked it about a month or so ago for a last minute break. I rarely take time off so had a lot of holiday time to use up and it's safe to say I did that. A jam packed week of snorkeling, a trip to Cairo, desert star-gazing and of course the obligatory lounging round the pool and I feel rested and reset.
While away I did the stereotypical British thing of combing the market places for some good deals. On my last night we decided to stroll to our local markets and about 3 stalls in I saw them. Black, high top Converse (faux of course, dahling!) A flash of haggling later and I had my project kicks...for £8.00!
So here's what I did to them:

Using a silver pen to mark the canvas I made a rough pattern of where I wanted my studs. I decided on matte black spikes as opposed to a carbon Converse copy (they've used silver pyramid studs.)
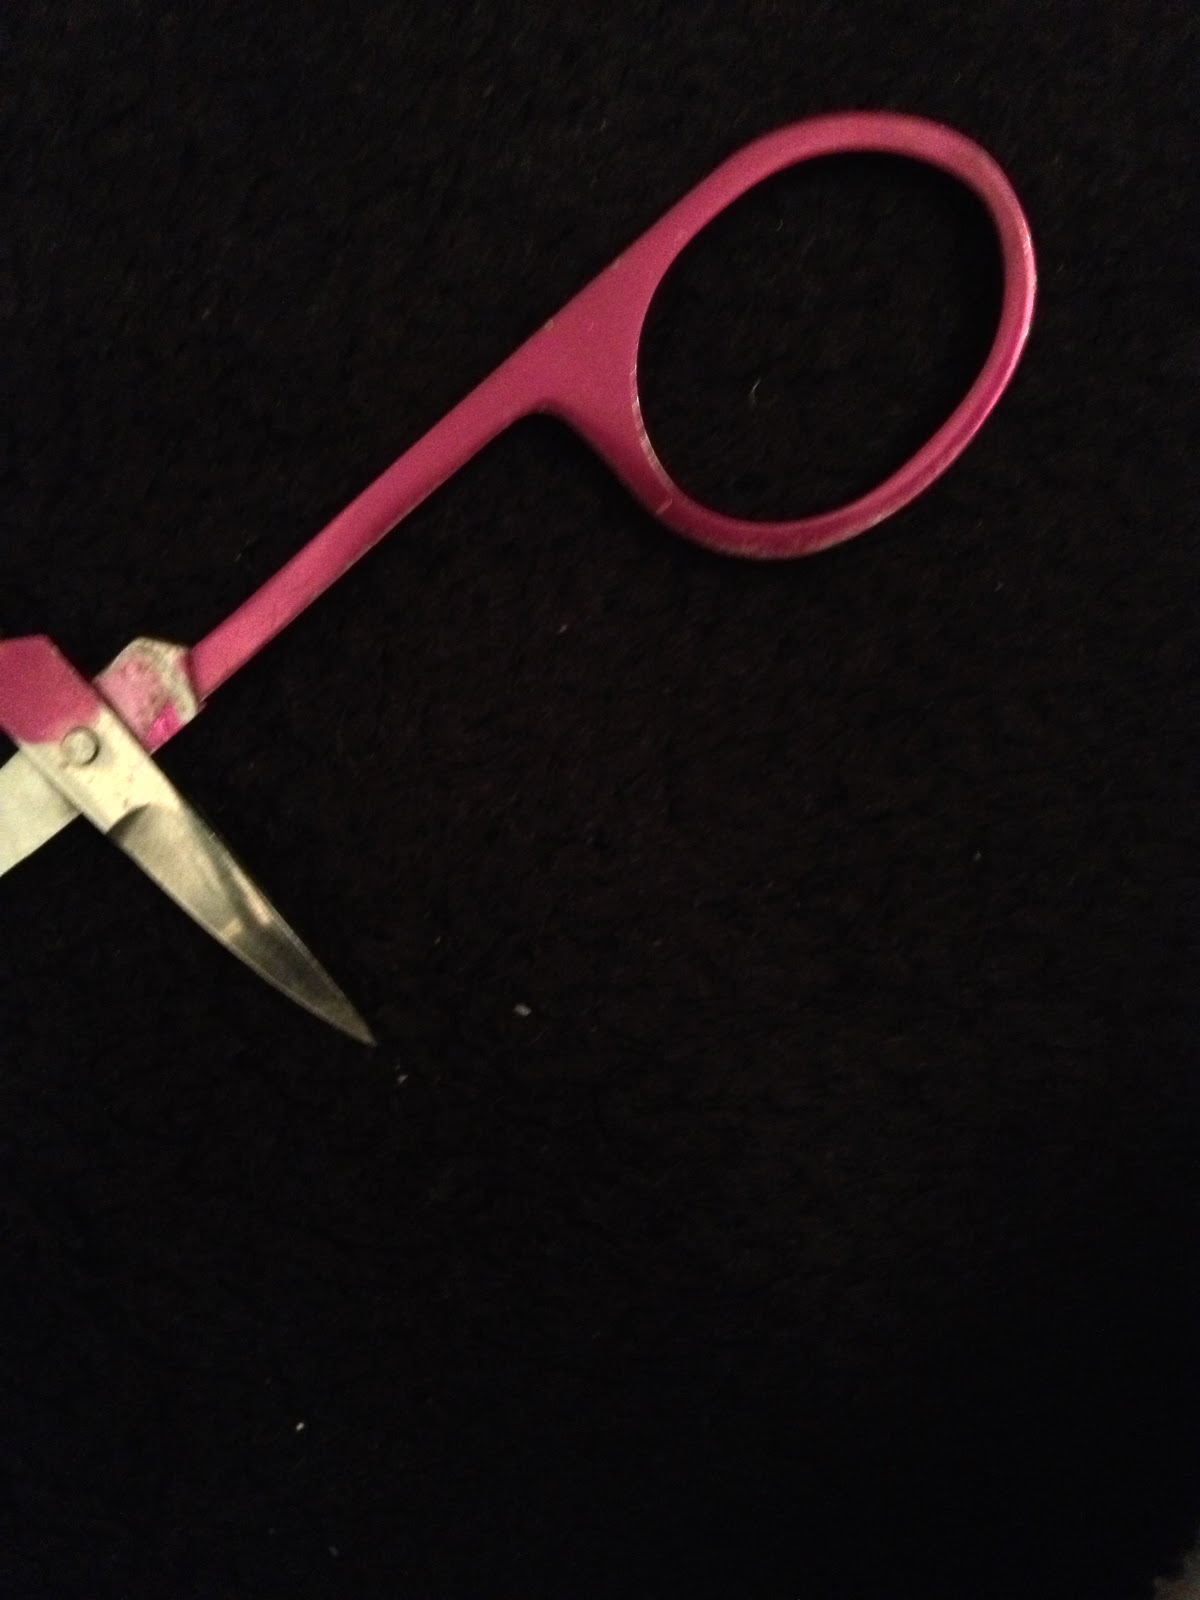
Then using my oh-so-technical apparatus of sharp nail scissors I set about stabbing holes in the sides of my shoes.

Next I pushed the screw back of the studs through and attached the front of the stud. Et voila - studded kicks for a fraction of the price. As I said, the shoes cost me all of £8 and the studs were approx £10 on eBay (for 100) so for under £20 I have a pair of shoes that will spend the next few weeks, at least, fused to my tootsies.
Here's the finished product. I know they're not perfect but for a DIY job done in an hour I'm more than happy with them.


And here's where I've been:

I wouldn't say I'm 'pleased' to be back but I've missed 2DyeFor!
No comments:
Post a Comment
What do you think..?