Showing posts with label design. Show all posts

Thursday

Winged Wonder.

Decorating. What a mine field that is. You spend hours, days and weeks deciding on the perfect curtains/art work/rug only to walk into someone else's house and see they have the same thing. It's crushing. Well, for people like me who think too much about their home, it's crushing. I like things in my house to reflect OH and me and our taste and not be part of the latest 'must-have' trend.

So far we've been quite lucky in that we've inherited, haggled, and created a great selection of (almost) one off things for our home. Hank - the circus light - for example. The beautiful green leather Chesterfield is another example - while it's not ours (or a one off) it is on a very generous loan from OH's parents and I've never seen one in that green or beautiful quality of leather before or since we acquired it. So we have been lucky. And I'd like it to stay that way.

When we were mapping out the new house we discovered that the front room is a nice amount larger than its equivalent in our old rental home so we've had the pleasure of working out what we can do with the extra space and OH spoke first and loudest so he won. For as long as I can remember he's wanted a wingback armchair for himself and I thought this was the perfect opportunity to bring that to life for him.

So for his birthday/Christmas I got him his chair. Or sort of...

In November I came across this absolute gem on Freegle: the website where people advertise things they no longer need for free to anyone who can come and collect them. I get several emails from the site a day and mostly they aren't that useful to me but that day I was in luck.

*Excuse the photo - it was the only one taken by the 'Freegler' and I forgot to take another before it went to be transformed.*


It was a mid-blue velour fabric which, while not ideal, worked well for the time we needed it not to be precious. When I picked it up we were still deep in renovation hell so OH was happy to be able to slob out on it in whatever state he was in at the end of a long day and not worry about making it dirty or damaging the fabric at all.

Then came the light at the end of the tunnel - we were finally able to think about bringing furniture back into the house. So I got researching and that's when I came across the lovely Heather at Eclectic Chair Upholstery. What drew me to her was her brilliant website, her location and the fact she offered to collect and then deliver the chair. When I contacted her she explained the chair would need around 5 meters of fabric to recover it so i set about finding the perfect fabric for OH.

We considered the following...


They were all fabulous but for one reason or another we ruled them out: too much pink, too light (we have a part-time dog), too feminine, too jazzy etc.

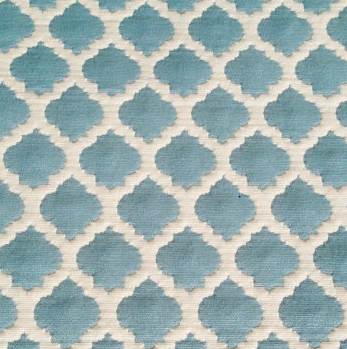
So after a short debate we plumped for:


Colourful: tick
Not too light: tick
Not too jazzy: tick

Just jazzy enough: tick
Not too girly: tick

Great Ikat print: tick

I was sold.

The only thing was it was located in Washington, U.S.A. However, as it turns out, it was actually cheaper for me to buy the amount I needed and pay shipping and import tax than it would have been to stroll into, say John Lewis, and pick a beautiful fabric from there. And the added bonus? There is a SLIM chance I will see this fabric anywhere else, and if I do there is an even slimmer chance that it's covering a winged back armchair acquired from Freegle.

So off it went for its face lift. And just over a week later we got her back. World, meet OH's new prized possession.


Of course, the problem now is that he isn't actually allowed to sit in it for fear of, heaven forbid, somehow damaging it. I'll relax soon but for the moment I'm just enjoying its crisp new look too much.

I highly recommend Heather - she's friendly, professional and competitively priced. She even mirrored the removable cushion cover top and bottom so that if anything irreversible ever happened we can just flip the cushion and start again.

Just one more thing: only clear drinks allowed in the living room now, darlings!


Hupdate: A House Update.

It's been a little while since I last posted due to various work trips, wedding prepping and the fact that we've spent every last waking second making the final push on the downstairs house renovation.

When we moved in, back in October, it was hard to imagine getting to where we even are now. After all, we ripped down plaster and walls, took floors up, lived with no kitchen, lived with no heating (the average house temperature through winter was 11 degrees...there were some less than wonderful evenings during that time), lived with no water (that was fun!) and generally took things right back to basics. Still, we pushed on; and last weekend we began to see why.

When we moved in the front room looked like this:


We'd had 8 weeks between getting the keys and getting in so we'd done a fair amount of the major demolition work in that time.

It was like moving into a dust pit.

That wrapped up thing on the right is my beloved Smeg fridge - just look at the state of her, poor thing.

Since October our living room furniture consisted of this - yes, those are garden chairs:


These pictures were taken pre-kitchen so we had a lovely kitchen/living room hybrid thing going on that, while hideous to look back on now, served us well.

Then the floors came up...


We learnt to balance pretty quickly, I can tell you. One bad foot meant a redo of some very technical work at times.

Then the new floors went down:


We used engineered oak throughout the whole downstairs because what we didn't want was radiators. So we chose underfloor heating and a wood-burner to keep us cosy. The engineered oak allows the underfloor heating system to work - solid oak won't let the warmth through.

Of course I am simplifying the steps in a major way but I would imagine to most people this is all achingly boring so I'm trying to be brief.

Once the floors went down we covered them in think lining paper (meant for prepping walls for papering.) This was an amazing tip from OH's mum. Good quality lining paper is ridiculously durable, non-porous in most cases and protects like nothing else we've used in the build. So whilst I *know* the floors look that fabulous underneath it all, we can barely see them!

So about 3 weeks ago the front room painting started in earnest.


Obviously all the pics include OH and not really me but I promise I was doing my half of the work!

After weeks of deliberating over wall colour we plumped for Farrow&Ball's Pavilion Grey.
We didn't actually - we went a trade paint place that does 'replicas' of popular colours and did it that way. I love the F&B floor paints we've used upstairs and they're really hard wearing but I'd heard from friends that the wall paints were a different ball game - chalky, constantly rubbing off against clothes and furniture and needing a fresh coat annually. I don't have time for that!

We decided to take the grey all the way up the walls but pick out the original features in white and have the ceiling white too. We hope that it gives the illusion of even higher ceilings which is part of what I love about the house - the feeling of space even though they're relatively compact rooms.

After we finished the painting we could FINALLY banish the garden chairs. While they've been marvellously loyal and useful their place is not indoors so off they went. Cue: The Chesterfield.

Our friend Mark helped us get it back in on the deal of beer and rugby if he completed the task. He didn't let us down. So up came the paper covering the floor and in came actual indoor seating. I almost cried.


Then came the windows. They were replaced just over a year before we bought the house which is brilliant but then, for some reason, the woodwork around them was stained a grim dark brown (see above.) So we set to work getting that all white and it instantly transformed the room.

OH made the genius decision of getting custom made blinds for the windows so they sit snug in the panes and look neat. And 2 nights ago, after living in a fishbowl for a week, he put them up.

And then I *did* cry.


So in 5 months we went from that to this. Next step is the dining room. Another Hupdate featuring that coming soon.


Planning Permission.

One of the most frustrating things about renovating the house is that I am just so desperate to be at a stage where I can start dressing the rooms. I regularly see beautiful things I would love to adorn my living room/dining room/kitchen and so on...and I can't buy them because, as yet, there is absolutely nowhere to put them so it would be a waste.

All this, however, has done little to stem the flow of ideas coursing through my mind. I love hunting for inspiring images of similar properties to ours and getting ideas in motion for what I might do when I (finally!) can.

I'm a very visual person and I feel that if I can't get the ideas out of my head and into a format I can physically look at then I'll forget them and they'll disappear back into the abyss of my mind only to rear their fabulous heads approximately one week after I've finished the room they concerned. Not ideal.

At the moment the room I am most mentally focused on is the front room/living room/sitting room - whatever you may call it. This is probably because we are living on loose floorboards balanced over exposed beams and sitting on cane garden furniture with only the poor wood-burner to heat the entire, open-plan, downstairs area. It's a frustrating format to be living in and has led to my obsession with the room and how it will look once I can get my teeth into it.

I've found the below images (and a ton more) to help me in my quest for the pefect design plan.


Although I keep quite detailed online visual idea boards via the medium of Pinterest I like to actually try and delve a little deeper into the planning of it all so I decided to try and create some more fluid visuals of how I think the room *could* look from a variety of angles.


We have (on loan) an incredible racing-green chesterfield sofa that I adore. I want to make sure the colours of the room revolve around, and highlight, this design classic. So, with this in mind, when we were in Rome we picked up a Monet print of blossom on a blue background. I think the colour palette of the room will be jewel tones in green, blue and yellow with possible splashed of purples, reds and pinks. But this is, of course, a work in progress.

Next is the window angle.


The wood-burner angle.
 
 
And the doors into the dining room.
 
 
Of course these are very crudely translated ideas but it helps remind me to do things like place a large mirror over the wood-burner. This will, in theory, reflect the beautiful Monet print we picked up in Rome when we got engaged. And that's what's important to me really. I want a very stylish home but I want it to be our home filled with happy memories and splashes of our personality throughout it.
 
I completely recommend doing this to anyone who wants to get a better grasp on their ideas. There are a plethora of sites that offer the ability to do this - some more in depth than others - for free.
 
Have you got any interior ideas you need to scribble down? Or is it just me? Should I call the Dr.?!


Tuesday

Out On The Tiles.

Ok. I'm sorry - I know I've received emails asking for house progress and I've not, as yet, fulfilled your requests but that's mainly because I don't feel like there's been much to report. We're still in the stages of bare plaster and just about laying floor (it has become the norm to expect to balance on exposed floor beams to get around the downstairs of our house - nothing so luxurious as solid floors for us, oh no!) so it's not seemed interesting enough to share.

But one little thing I can report is that our wood-burner is in - those of you who follow me on instagram (2dyefor_) will know this since I post too many pictures of it whenever I get to take a break from renovations and just marvel at it's heat. And when it's minus 4 outside we need that heat.

It's a traditional looking one as we wanted to stay in keeping with elements of the history of the house and not modernise everything and I really love the style we chose.

Here's a little mash-up of pictures of our life with the 'burner so far.
As you can see life around the wood-burner is pretty basic. We're still on garden furniture in place of our beautiful sofa and armchair which are in storage, and there's still alot of dirty work to be done but we are getting there. At least I have to keep telling myself that or I think I'd just give up.

But last weekend OH started laying the final parts of the downsairs oak flooring and with this came an exciting decision. (There aren't a huge amount of those at this stage so I take them where I can find them.) And this was a goody - floor tiles for under the wood-burner. Yippee!

The originals are still there at the moment and we've fought to keep as many intact as possible but unfortunately they're so old and brittle they've almost all smashed, splintered or powdered away as we've tried to extract them so we've had to make our peace with the fact we are going new in this element.

I began my search using my old faithful - Pinterest.


And my personal favourite in the search...

I love the idea of doing the surround in the same tile but with the interior plans I have for the room it would end up being a sensory overload in there so I decided to stick with the hearth area only and began looking at specific tile designs.


While I do love the impact of a feature tile I was worried that it would be too much with what I already have planned so I opted for a box of mixed tiles (16 tiles - each tile a different design) in muted grey/off white tones. I feel more confident that this then doesn't dictate the tone of the surrounding area and will be able to hold its own against an array of decorative choices. And we all know I'll not be able to settle with one style of room for long.

 
They aren't in situ yet but they should be this coming weekend (fingers crossed) so I'll take a snap for you and post it up to show the finished look. I'm really excited about these tiles - which worries me - I'm now actually at an age where tiles thrill me.
 
I'd say 'pass me a G&T' but I'm doing Dry January so I'll just have to push through. Wish me luck!


Monday

(Farrow &) Ballin'

So it's happened. I am officially a house bore. I realised that the full transformation had taken place this weekend when, at 9.30pm on Saturday evening, I was in bed researching floor paints.

But not any old floor paints. Farrow & Ball floor paints. I have long been a fan of their range but never had any need to employ their beautiful products. However, all that has changed now I have my very own money pit* (*read: house)

This weekend's particular focus was on the floors of my dressing room and our master bedroom. We hired a set of industrial sanding machines and I spent hour upon hour battling with them until I was left with, actually, not too shabby a job (if I do say so myself). The floor boards are the originals from when the house was built in 1907 and they're in amazing condition so I wanted to use them where I could.

A quick couple of before and after sanding pictures:


That last picture isn't actually after it was fully finished but I forgot (as ever) to take more 'in progress' shots so it's the best I have.

Then came the joy of deciding on what colours we wanted in each room.

I know there is a huge attraction towards natural or white boards but neither myself or OH have ever really loved them. So after many hours on Pinterest I optioned grey to OH.

He nodded.

It was enough for me!


I never take much encouragement to get excited about grey as a colour so after a few tester pots had been purchased and some swatches had been painted we decided on these two:

Mole's Breath - Dressing Room

Manor House Gray - Master Bedroom
As with most house DIY projects the success is all in the preparation and after I'd finished sanding I spent several hours meticulously painting the sealant undercoat on the floors ready for first coats this evening.

Farrow & Ball sell a specific undercoat designed to sit with their paints - of course I was suckered into it. I just felt that if I ignored it and bought a cheaper one I may live to regret it when the paint chips or what have you. I've probably spent far too much and could have done it cheaper but after the hours of back-breaking prep I wasn't willing to risk it so handed my bank card over very willingly.

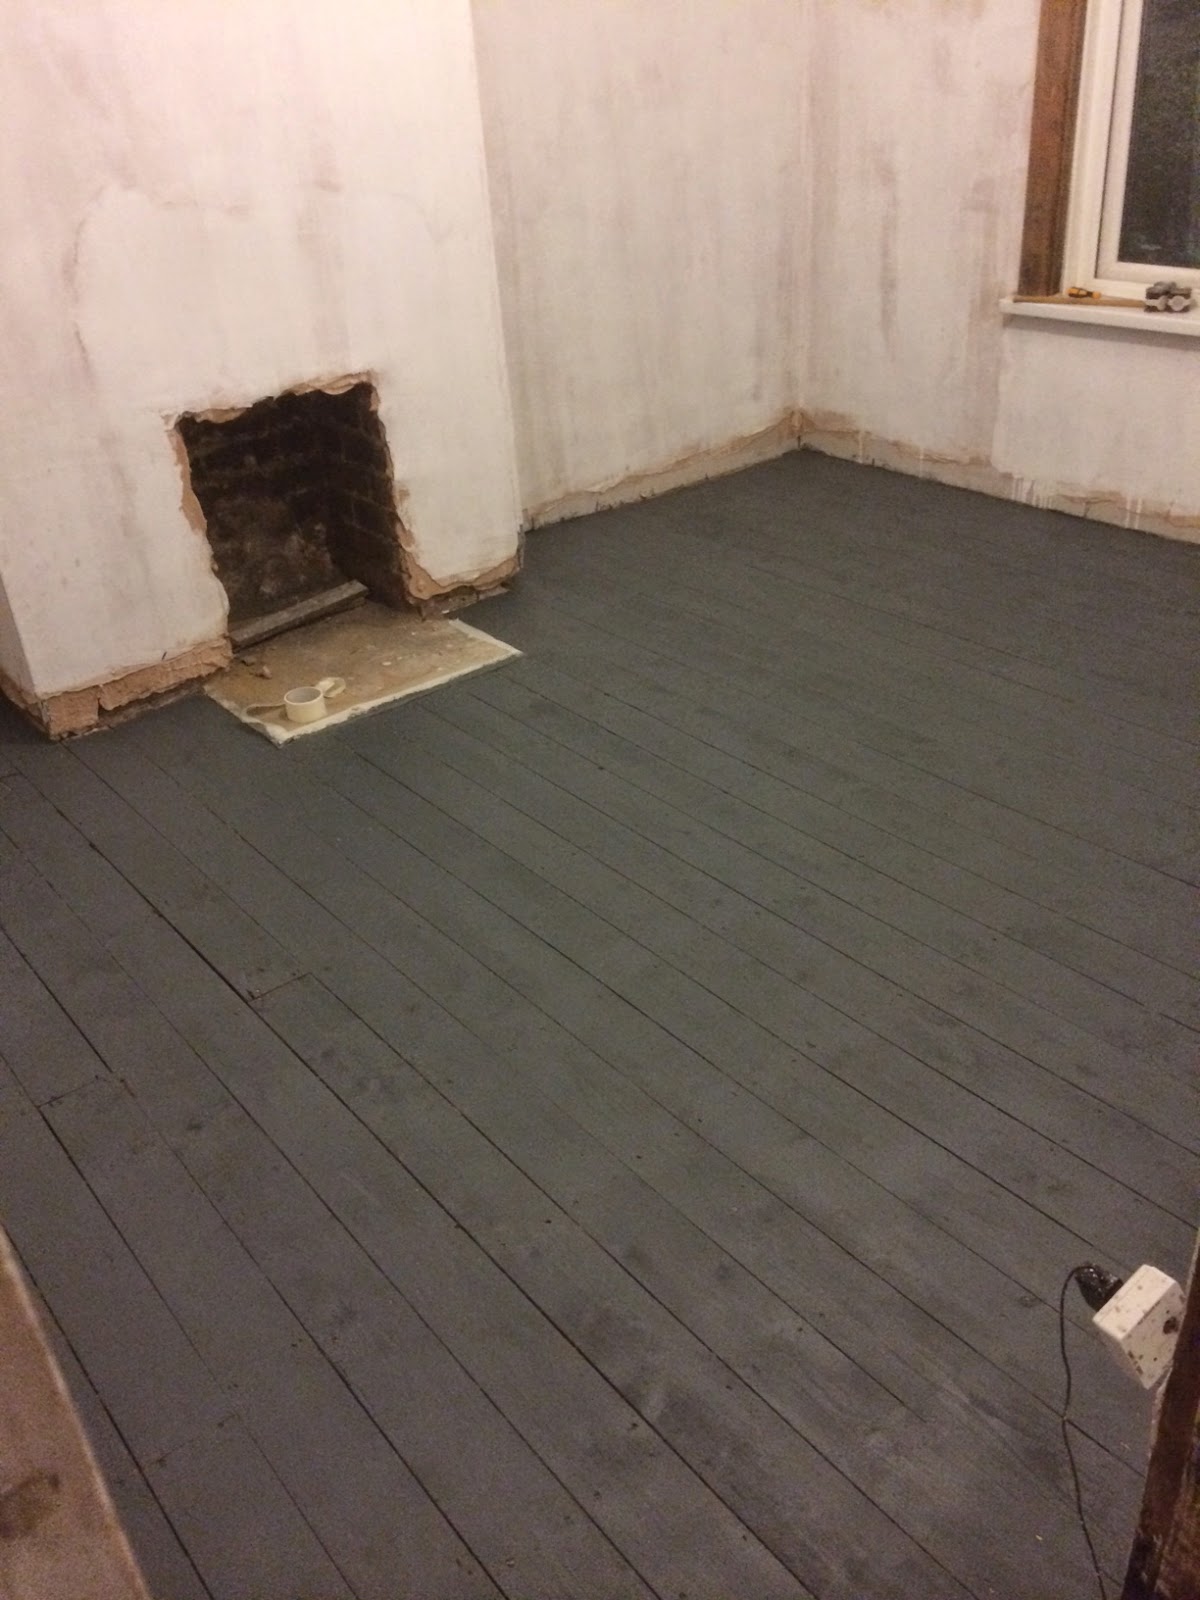
Currently they look like this - but not for long:


Right - best be off - they aren't going to paint themselves! Happy Monday!